How to Make a Gnat Trap with Household Materials: A Beginner’s Guide
Transform your home into a gnat-free zone with simple traps made from items found right in your kitchen. Many people struggle with these tiny, pesky insects, especially during the warmer months or in areas where dampness and organic material thrive. Fortunately, you don’t need to rely on expensive commercial solutions. With just a few common household items, you can create effective traps that will lure these unwelcome guests and keep their numbers in check. Not only are homemade traps easy to set up, but they also offer a more eco-friendly approach to pest control.
This guide will take you through the process of making your own gnat traps using materials you likely have on hand. We’ll explore the essential items needed and provide step-by-step instructions to ensure you’re set up for success. Additionally, we’ll include tips to maximize your traps’ effectiveness, helping you stay one step ahead of these flying nuisances. With a little patience and care, you can reclaim your space from gnats and enjoy a clutter-free, pest-free environment.
Understanding Gnats
Before diving into making traps, it’s essential to understand what gnats are and why they’re drawn to certain areas in your home. Gnats are tiny insects belonging to various families, including fruit flies, fungus gnats, and more. They are particularly attracted to damp soil, rotting fruits, and plant debris. Their lifecycle is surprisingly quick, meaning that a small group can multiply rapidly if not controlled. Identifying breeding grounds is the first step in your battle against these pests.
Gnats are most commonly found near plants and in kitchens, especially where food is exposed. Understanding their habits not only equips you with knowledge but also enhances your trapping effectiveness. For instance, maintaining cleanliness in your kitchen and promptly disposing of overripe fruits can minimize their numbers. When creating your traps, consider these factors to position them effectively. The right placement will attract more gnats into your traps, maximizing their capture.
Materials You Need
Gathering the right materials is crucial for making a successful gnat trap. Fortunately, you don’t need to invest in specialized equipment. Here’s a concise list of common household items you’ll need:
- A jar or bowl
- Apple cider vinegar
- Dish soap
- Plastic wrap
- A rubber band or string
- A slice of ripe fruit (optional, for variation)
Step-by-Step Instructions
Creating a gnat trap is straightforward and can be accomplished in just a few minutes. Below are step-by-step instructions for two popular trap designs. The first uses vinegar, renowned for its effectiveness, while the second incorporates fruit for those who prefer a more natural bait.
Making a Vinegar Trap
This method is perfect for those who have apple cider vinegar on hand, as its scent effectively attracts gnats.
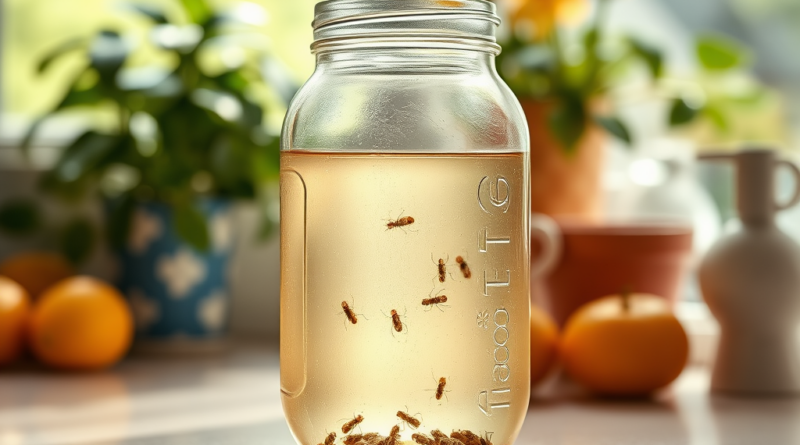
- Prepare the Jar: Take your jar or bowl and fill it with about half an inch of apple cider vinegar.
- Add Dish Soap: Mix in a few drops of dish soap to break the surface tension, ensuring that gnats become trapped upon landing.
- Cover with Plastic Wrap: Stretch a piece of plastic wrap over the top, ensuring it’s securely tight.
- Secure the Wrap: Use a rubber band or string to hold the wrap firmly in place.
- Poke Holes: Puncture small holes in the plastic wrap large enough for gnats to enter but small enough to keep them from escaping.
Using a Fruit Trap
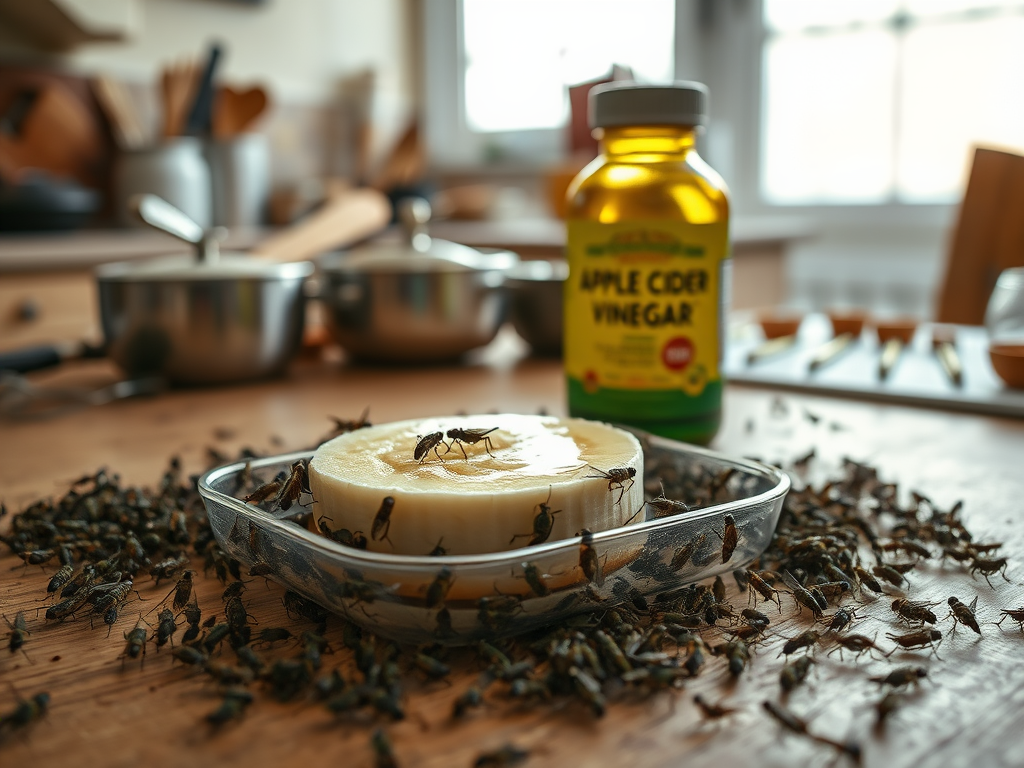
Ripe or overripe fruit can attract gnats, making it an excellent alternative bait.
- Select Your Fruit: Choose a ripe banana, apple, or any fruit that has a sweet scent, then place a slice in your jar.
- Add Vinegar: Pour a small amount of apple cider vinegar into the jar with the fruit to enhance the trap’s effectiveness.
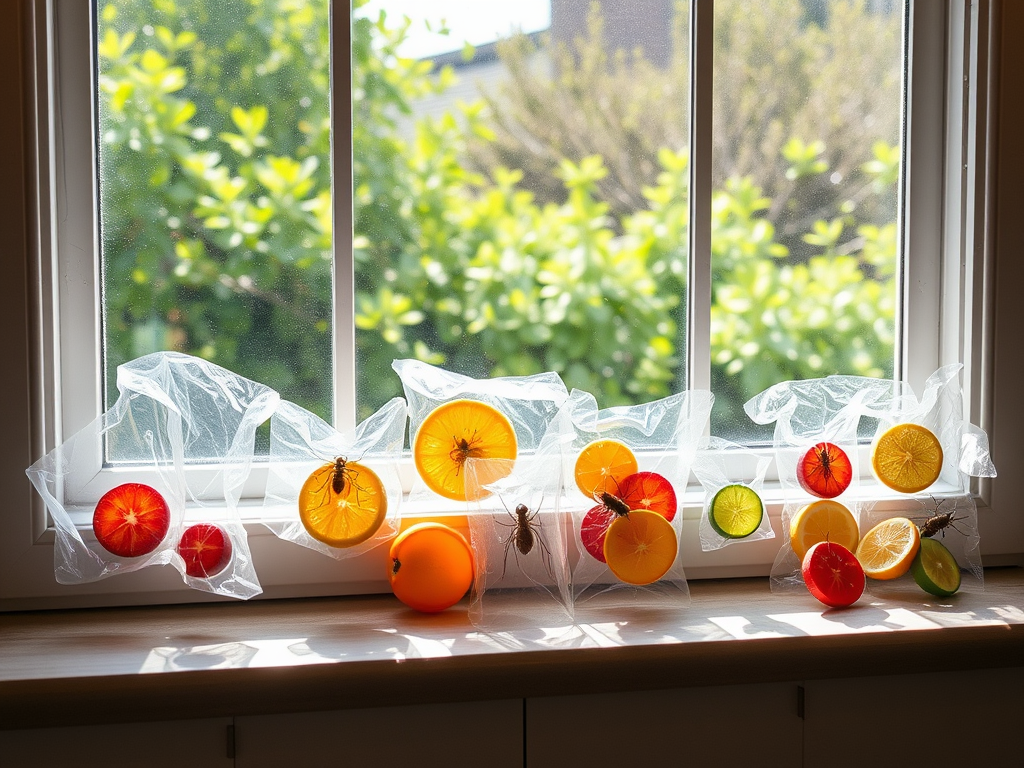
- Create an Entry Point: Cover it with plastic wrap and poke holes similar to the vinegar trap.
- Position Your Trap: Set your trap in areas where gnats are frequent, like near houseplants or fruit bowls.
| Method | Attractant | Setup Time |
|---|---|---|
| Vinegar Trap | Apple Cider Vinegar | Approx. 5 minutes |
| Fruit Trap | Ripe Fruit & Vinegar | Approx. 5 minutes |
Tips for Effectiveness
Setting up your traps is just the beginning. To ensure their success, follow these strategic tips:
- Location Matters: Place traps near plants, fresh fruits, or garbage cans where gnats are typically found.
- Replace Regularly: Change out the vinegar or fruit every few days to keep the bait fresh and enticing to new gnats.
- Combine Methods: Utilize multiple traps in different locations to enhance your success in capturing gnats.
Conclusion
Creating a gnat trap with household materials is an effective, eco-friendly method to control these pesky insects. With minimal effort and cost, you can keep your home free from gnats while utilizing items you already have on hand. The satisfaction of seeing these traps filled with gnats is rewarding, knowing that you are avoiding harmful chemicals in favor of natural solutions. Remember to check your traps regularly and refresh them to maintain their effectiveness. With the right approach and a bit of diligence, you can enjoy a more comfortable living space free from the nuisance of gnats.
Frequently Asked Questions
- What attracts gnats?
Gnats are primarily attracted to decaying organic matter, moisture, and sweet scents like fruits and vinegar. - How long does it take to catch gnats using a trap?
You may start seeing gnats caught in the trap within a few hours, but it might take a few days to notice a substantial reduction in their numbers. - Can I use other types of vinegar?
While apple cider vinegar is the most effective, white vinegar can also work, though it may not be as enticing to gnats. - Are gnat traps safe to use around pets?
Yes, homemade gnat traps made with food-safe ingredients like vinegar and fruit are generally safe for pets, but always supervise to prevent accidental ingestion. - What if the trap doesn’t work?
If your trap isn’t effective, check the placement and ensure the bait is fresh. You might also consider using several traps around the house.